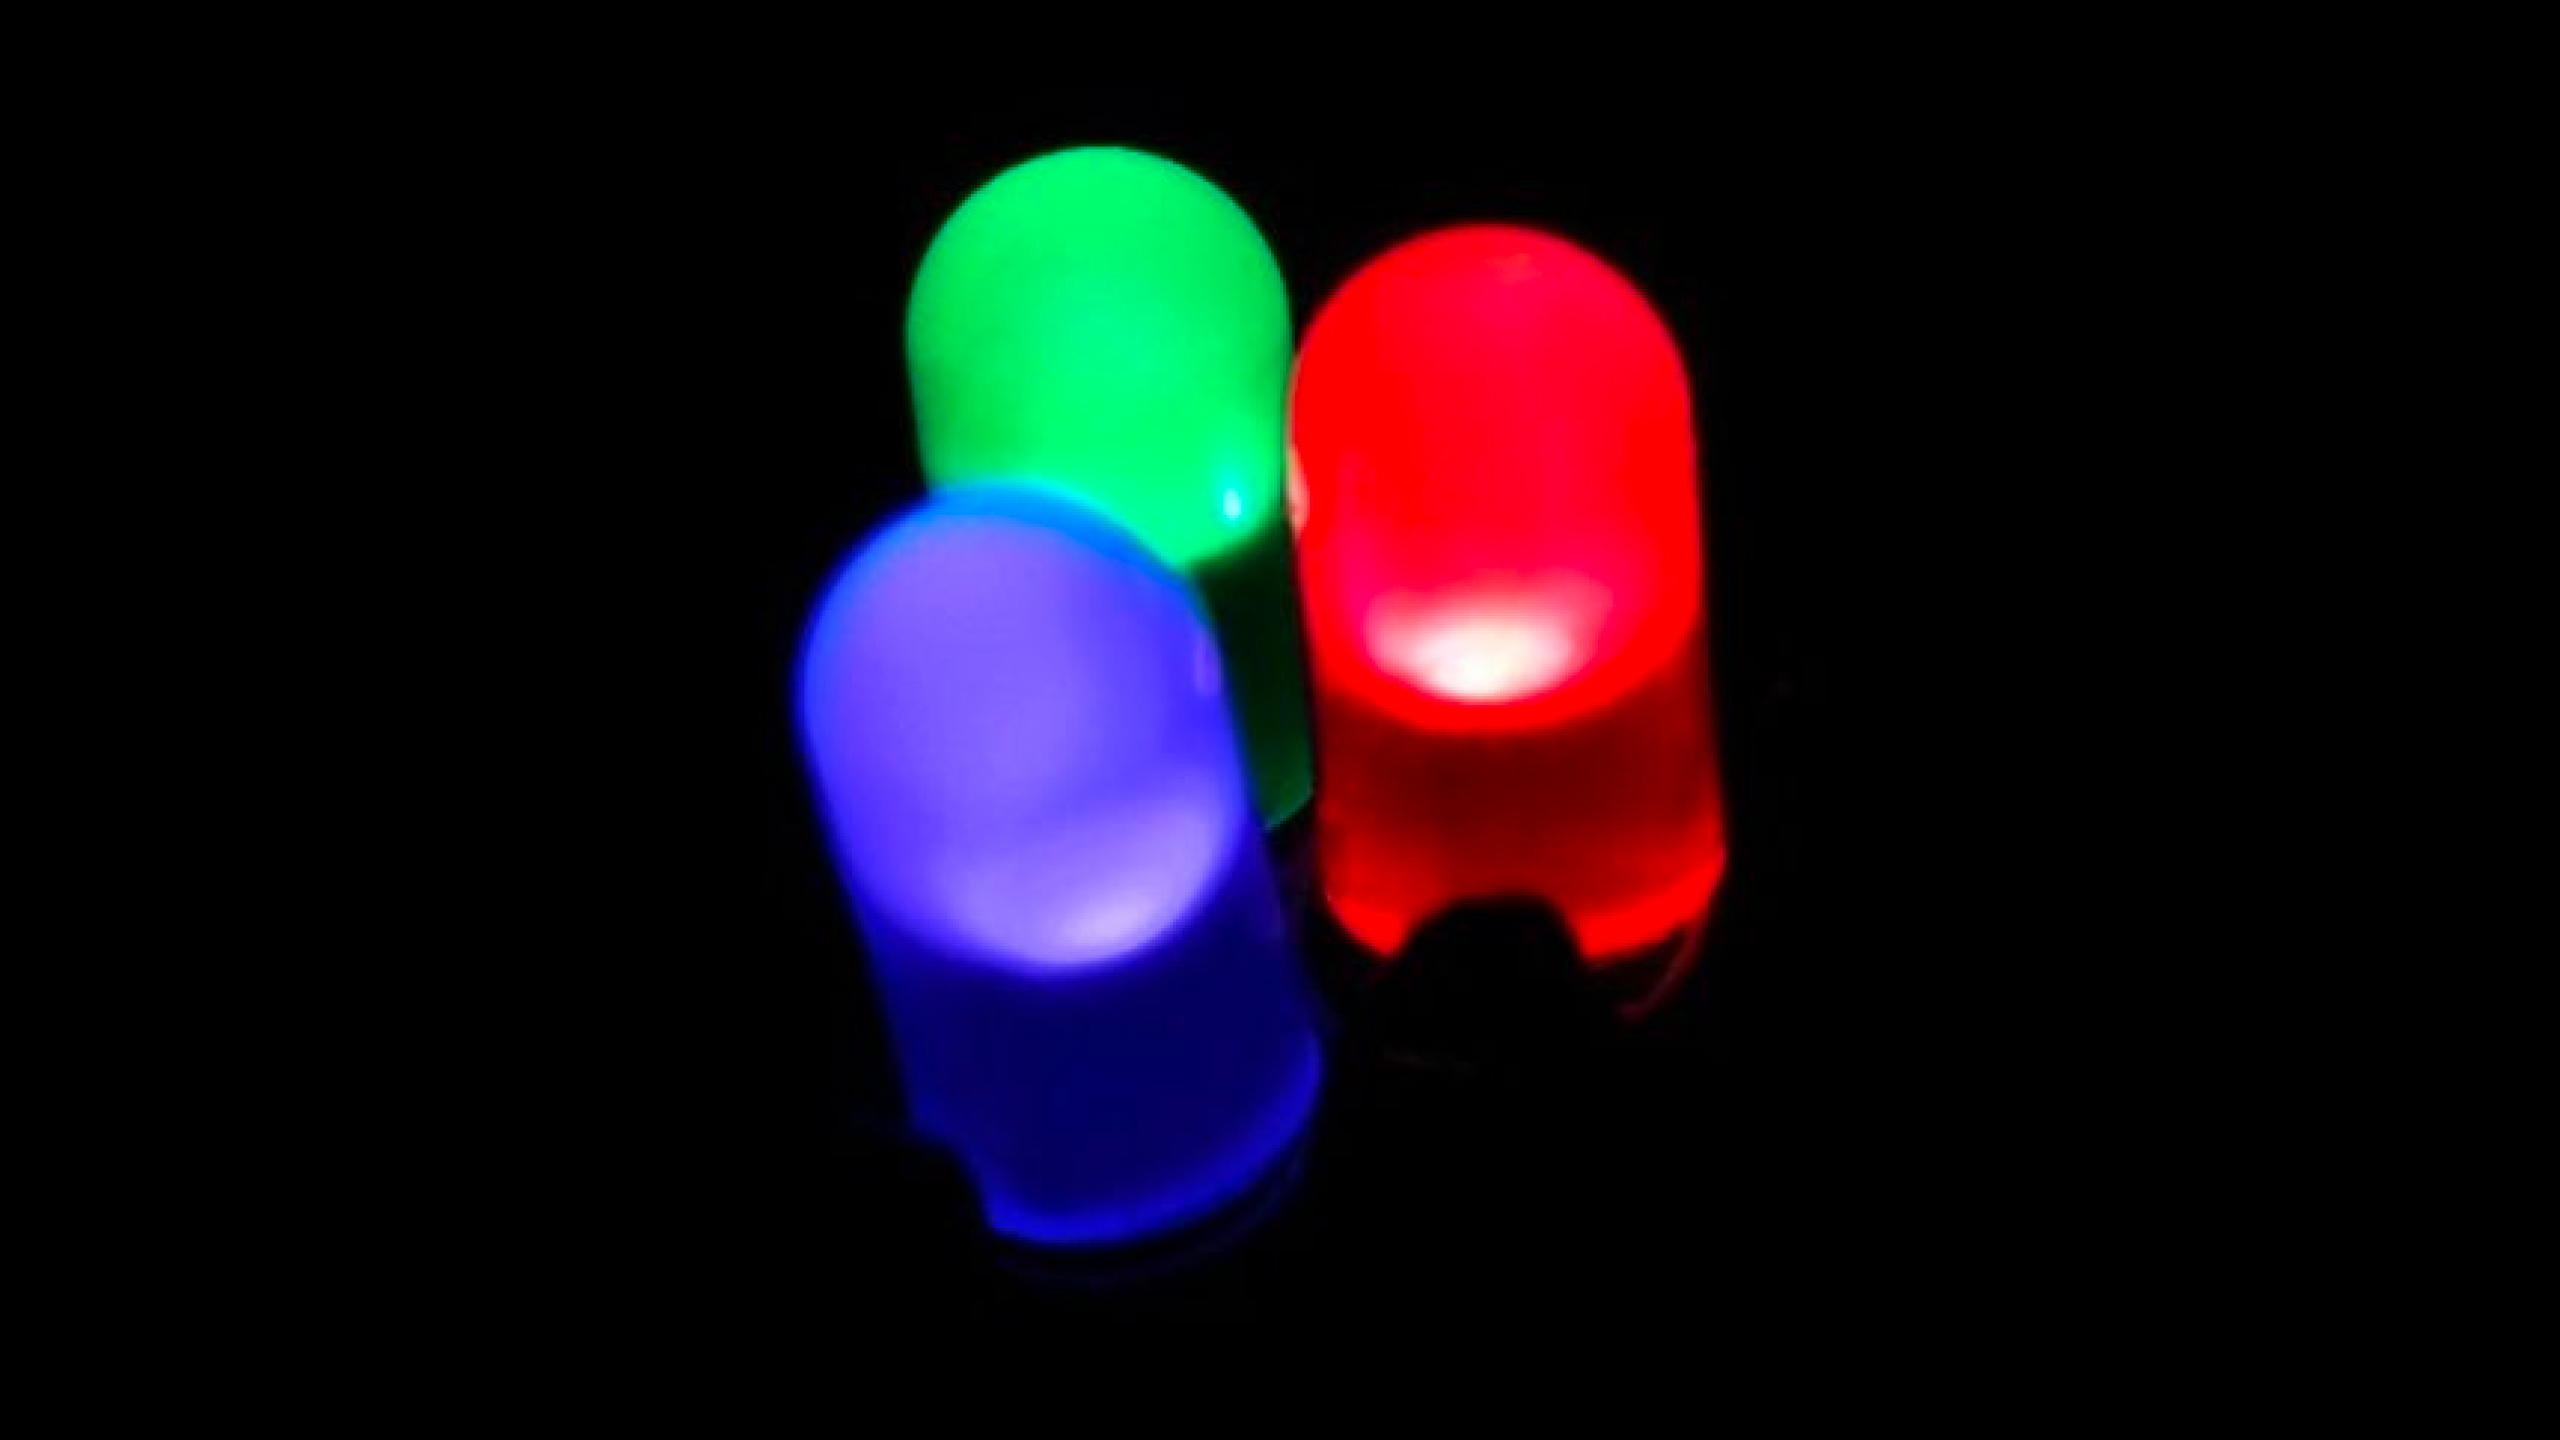
LEDs are a super useful part of so many of our projects. A serious bummer when you have put one together is to have the LED fail to light when you need it to. There are many causes for LED failure, and before using one, it should be tested to make sure it lights up as it should. A quick way to test it is using the DMM you should always have handy.
1) Connect the black probe to the COM jack

2) Connect the red probe to the V/Ω jack

3) Select diode symbol on the DMM. This allows for current to travel in one direction (the arrow) and not the other.

4) Turn the multimeter on. The display will show OL or OPEN.

5) Connect the black probe to the cathode of the LED (shorter leg and/or flat side of LED). Connect the red probe to the anode end of the LED (longer leg and/or round side of LED)

6) If everything is correct the LED should light and the value on the DMM is the forward voltage drop of the LED

This test will work for most DMMs and most LEDs. However, there are some DMMs that won’t provide the voltage or current necessary to light an LED. Another reason the test might not work is if your LED requires a high current (relative to standard LEDs) or has voltage drop greater than the DMM can supply. To test your LED in these cases you’ll have to set up an external power supply with voltage and current capabilities to match your LED
A random SMD LED I tested turned out to be green with a voltage drop of 1.8V. The polarity, color, and voltage drop are valuable pieces of information, so definitely take the time to verify your LED before soldering an LED to a PCB, or depending on it to display the state of your circuit.


