A breadboard is simply a board for prototyping or building circuits on. It allows you to place components and connections on the board to make circuits without soldering. Getting to know the basic structure of breadboards will help in making the most of this useful tool for putting together circuits for prototyping or for learning. Here are some of those basics on the breadboard itself:
General Characteristics
- Shapes - Usually breadboards are rectangular.
- Sizes - There are lots of sizes. The most common are “Mini” 17 row, “Half” 30 row, and “Full” 63 row boards. These sizes come in handy when selecting a board for prototyping into smaller spaces, or just being large enough to fit larger projects. Many breadboards can be interlocked with more boards if you need more space.

- Holes - Breadboards are covered in holes! Not really news but there it is. The holes are arranged in rows and columns.
- Layouts - Most boards come with two columns of rows of 5 holes with a split down the middle. The mini size boards I’ve seen leave out the power rails to save space. The breadboards used in larger school projects can have 3 or 4 “Full” size breadboards mounted to a solid plate, and have binding posts for power supply connections.

- Spacing - The spacing in the rows and columns is a standard 0.1” pitch, which fits DIP (Dual In-line Package) ICs, and many other components that you can have inhabit the breadboard, or connect as part of Arduino and Raspberry Pi projects.
Now for the part of the breadboard that makes them useful: the holes and the connections they make inside the board. Starting with the most useful part in the middle of the board are the rows and columns connected by terminal strips.
Terminal Strips
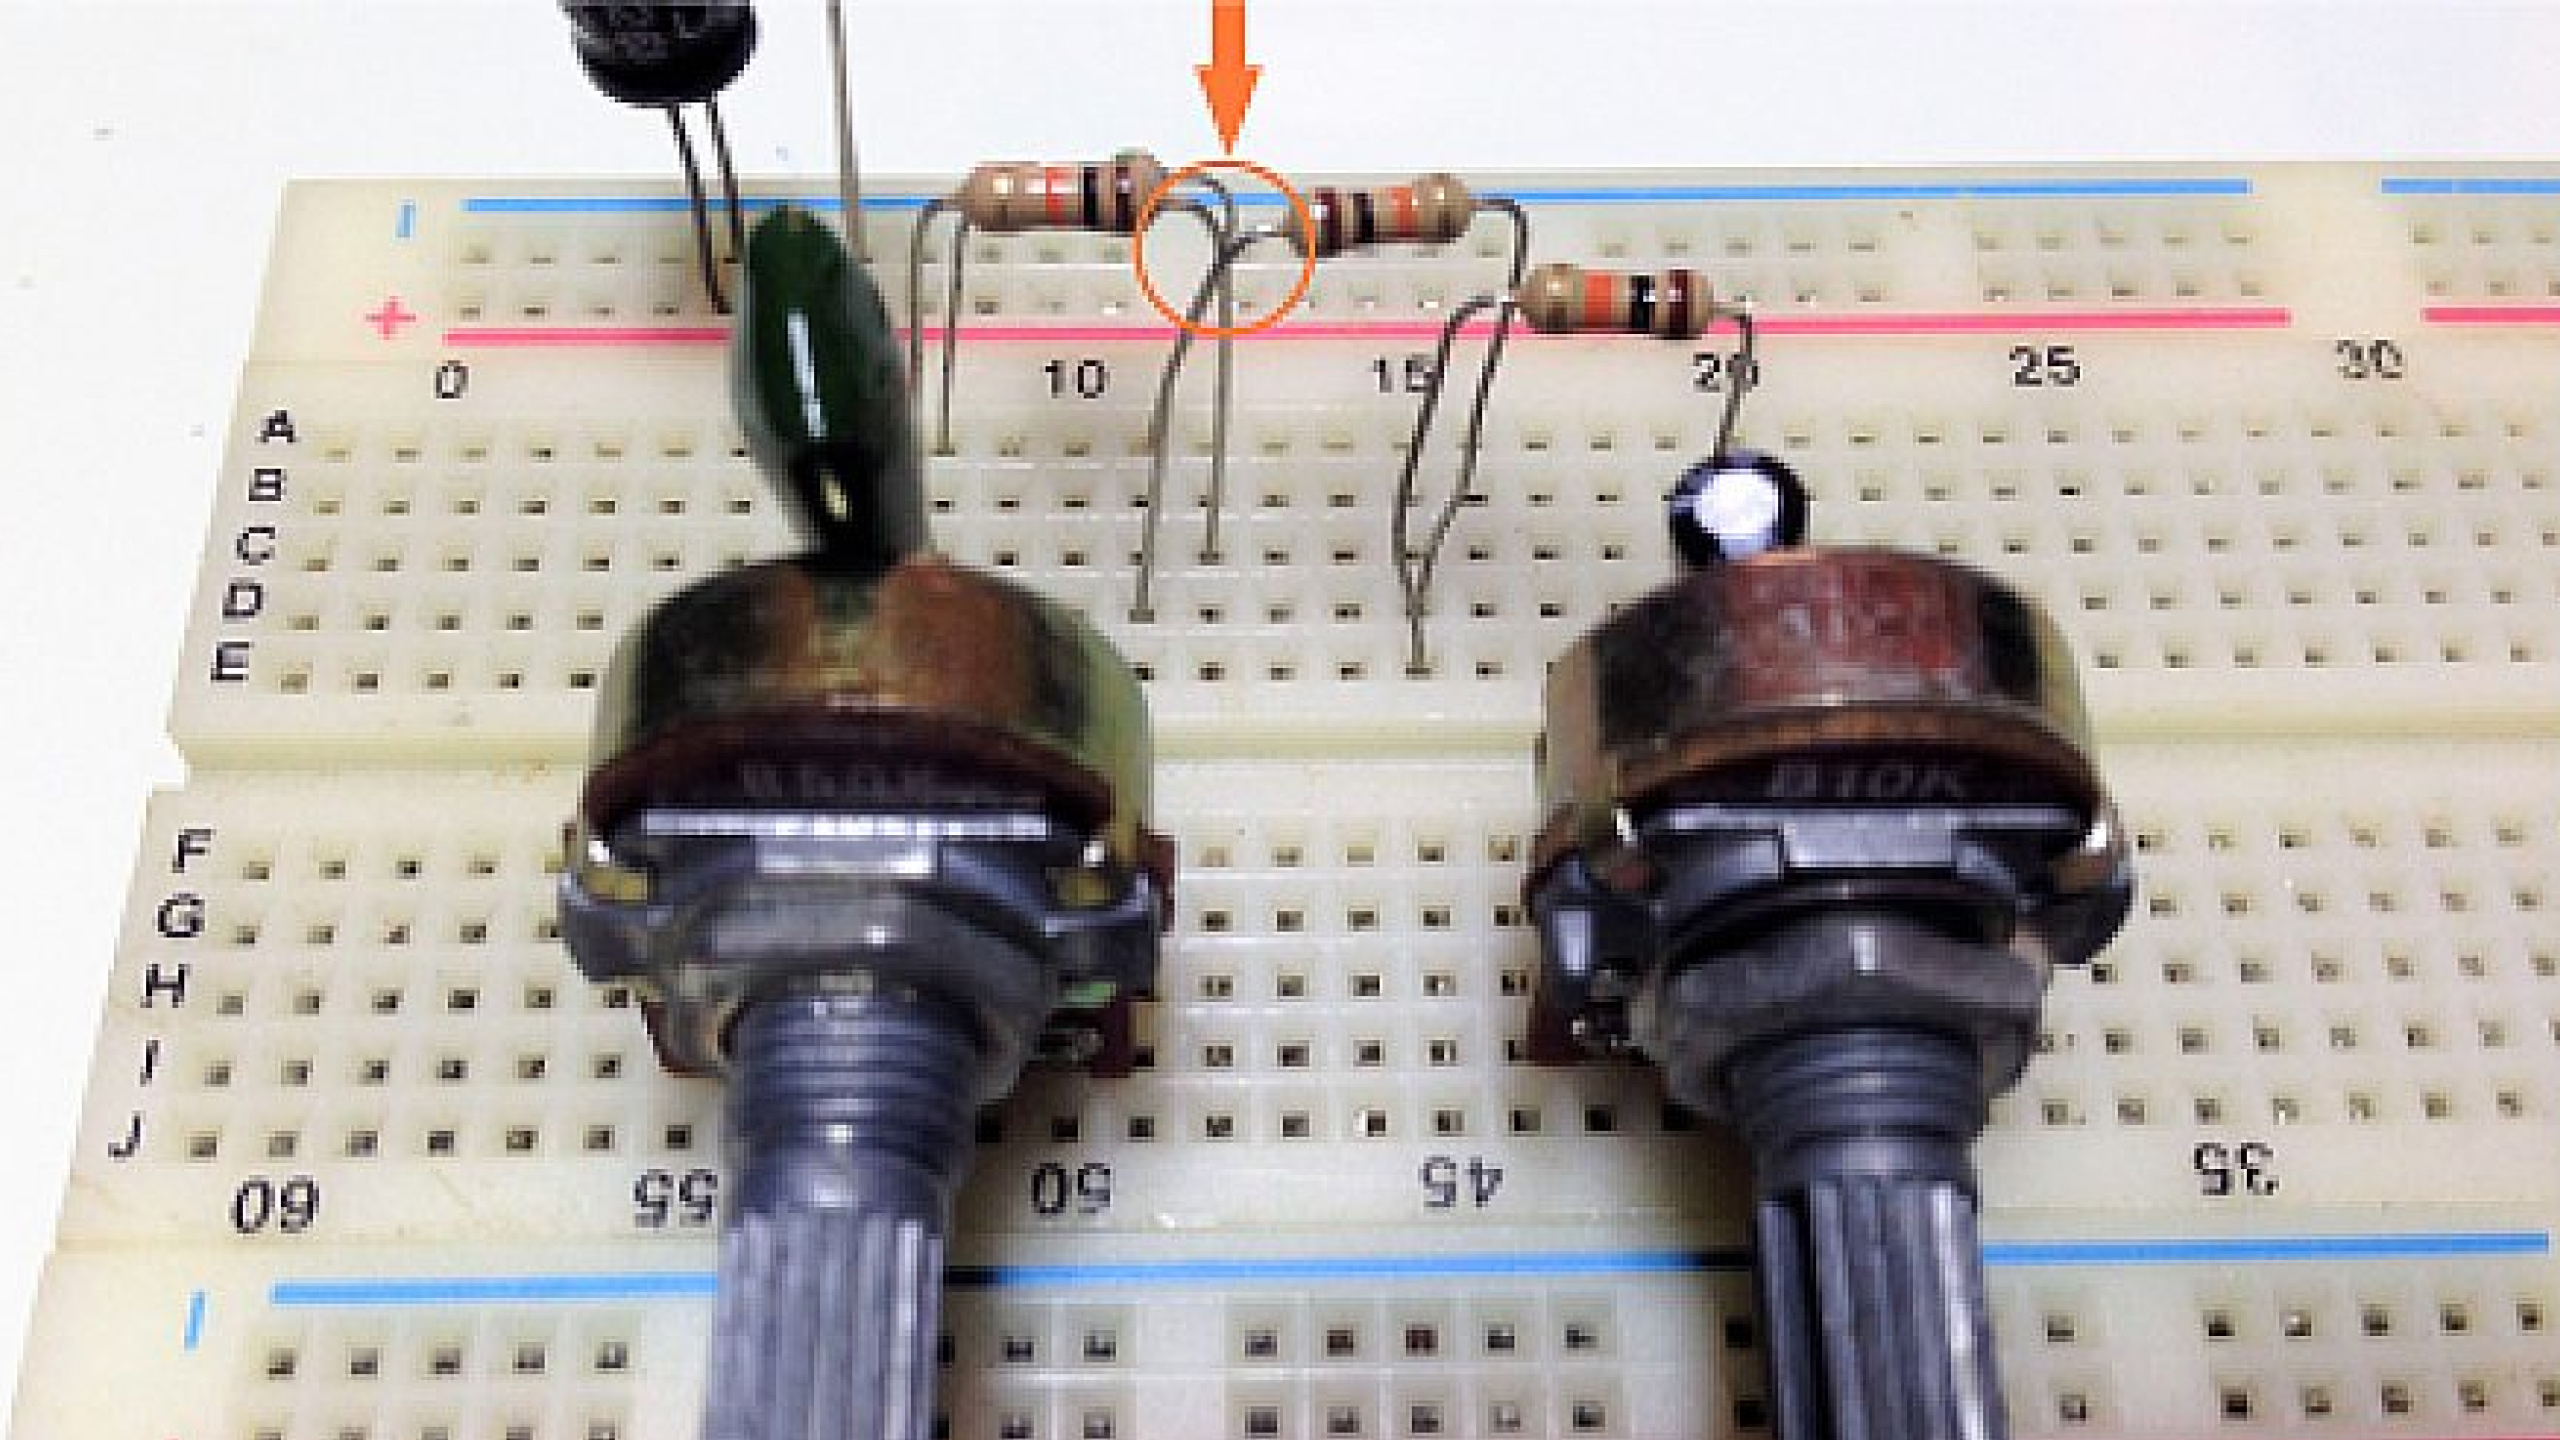
- What are they? Terminal strips make up the rows of the breadboard. Five holes in each row, each hole is electrically connected to the other holes in the row. Inside the breadboard the terminals have a clip that grips the legs or wire you put into the hole. The clip ensures a relatively strong physical and electrical connection is made, but you can still easily pull up the connection to change locations and parts. A component with legs on different rows is able to make four other connections per leg to other wires or components. Watch out! A component placed with both legs on the same row is shorted.

- How are they arranged? Most of a breadboard's area is made up of the rows and columns where components can be placed. Typically there is a column with a row of five holes on one half, a ravine or split in the breadboard and another column of five holes on the second half (disregarding the power rails). The rows and columns of some boards are marked for easier referencing of what connections you’re making.

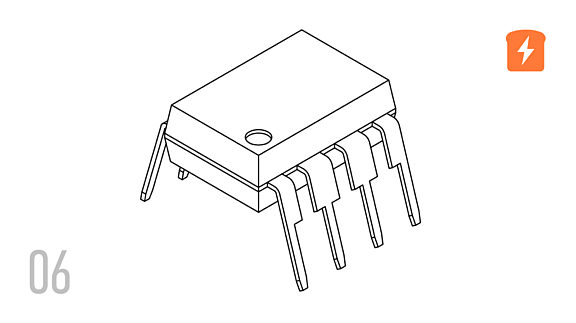
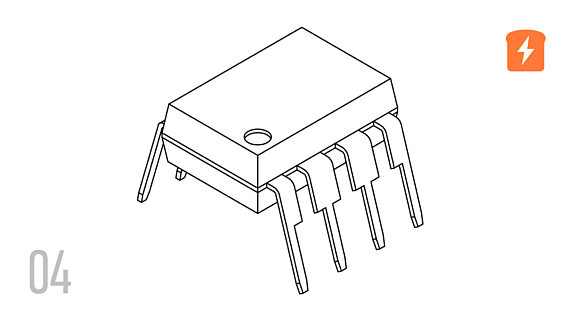
- What is the Ravine for? The ravine allows for DIP (Dual In-line Package) components to be placed on the breadboard without connecting the pins of the DIP together, as well as have the proper spacing to attach to the board.

Along the outside edges of larger boards are power rails. Smaller boards might not have them, and using them is not even necessary for tiny projects. It is a good practice to use them though, and becomes extremely handy to have voltage and ground distributed where you need them in your circuit, when it becomes more complex.
Power Rails

- What are they? Power rails are rows of connections running vertically along the breadboard, intended to connect to the power supply. Since they often run along the length of the board, it is easy to power all the devices on the board with neat short connections instead of a lot of long connections strung out over the board.
- Where are they? They are usually running the length of the long side, and often down both long sides, with a (+) and red line, and (-) with blue or black line marking the length of the power rails.
- How are they used? Most of the time the best use is to connect the positive lead from your power supply to the (+)(red) marked rail at one end of the board, and the ground connection to the (-)(blue/black) marked rail next to it. You also connect the power supply to the other side, or use jumper wire between the rails to supply them with power too. Be aware of the lack of built-in connection from side to side, as well as some boards have a power rail split from top to bottom. This is so that the rails can be connected to different supply voltages (and that’s handy), however countless hours have been lost to troubleshooting breadboard projects that simply don’t have power to some of the circuit due to the split rails.
- Binding posts - Larger breadboards have handy binding posts for power connections. They can simply be power and ground, and can also have additional posts for other voltage levels. Binding posts are nice because they can take a banana plug from your power supply or they can clamp down on stripped wire ends.
- Another power option - There are also small power supply daughter boards that can take USB or other DC supply and output adjustable voltages such as 5V or 3.3V that are commonly needed for Arduino and Raspberry Pi projects.
Ok, so that was tour of the basic structure and the physical and electrical connections that can be made with a breadboard. For most projects that is all that is needed, and you can get to building circuits quickly and easily. If your project requires high power or high frequency, there are some other electrical characteristics to be aware of, but that will be covered in another FAQ.


