Equipment for our Simple Microcontroller tutorials (PIC10F200) - Part 2
Published
Hey there! If you are reading this, then the introduction caught your interest and my efforts were not in vain. Excellent! Let's get started on this microcontroller tutorial!
While the microcontroller is the brains of a project, there are a lot of other things required for a functional circuit. So, let’s first figure out what we will need to develop our devices using the PIC microcontroller.
1. PIC10F200 Microcontroller

The PIC10F200 microcontroller itself - obviously. You can buy it in whichever package you want and wherever you want. Personally, I bought the 8 pin microcontroller in the DIP package for easy prototyping and so I can use a breadboard (yeah, I’m spoiled by the Arduino too). I purchased the PIC10F200 on Aliexpress, which I use quite often to buy electronic stuff when it’s not quality-critical. Again, if quality and reliability are critical, go to an authorized distributor. And if you want to make a small form factor device, you can use the 6 pin microcontroller in the SOT23 package (technically a SOT23-6 package but whatever).
2. Programming Tools
A programming tool. I don’t want to limit you with this. If you want to do PIC microcontroller programming, you can use any one you want – from Microchip or DIY. The only thing that is mandatory is high-voltage programming support, as this is the only programming option supported by PIC10F200. From the original OEM programmers/debuggers you have the following options:

- PICkit 2 - obsolete now but supports the PIC10F family and can be used.

- PICkit 3 - also about to be obsolete but currently the most popular model.

- PICkit 4 - the latest version of the PICkit, it supports the whole set of Microchip microcontrollers including Atmel AVR and ARM chips, so if you need an all-in-one tool, I’d recommend this.

- MPLAB ICD 2 - an in-circuit debugger, more advanced than the PICkit, this version is obsolete.

- MPLAB ICD 3 - a newer version of ICD but not the newest.

- MPLAB ICD 4 - the newest version of the ICD, supports PIC and ARM chips.
PICkits are much cheaper than ICDs. For instance, a PICkit 4 costs ~$50 while an ICD 4 costs ~$250. But it’s up to you what to use, I always recommend cheaper if possible because you can buy a lot of cool things for your circuits for $200 and if you’re not using it professionally, the PICkits are going to be just fine.
Another option is to buy or assemble clones of these programmers/debuggers - they are even cheaper but producers can’t guarantee that they will function properly. For instance PICkit 2 can be found on Aliexpress for about $8-$9, while PICkit 3 costs $9-$11. So you can use them but at your own risk – if something goes wrong, it’s your responsibility. As for me, I use a PICkit 3 programmer, and I’m satisfied with it but in the office, we also have PICkit 2’s and a PICkit 4. Microcontroller programming is an essential part of the process - choose wisely.
3. Other Parts, Breadboard, and Dupont Wires
In addition to the microcontroller, you will need some other parts and boards. Before each project, I’ll give a list of required parts but here’s an overall list for at least the first few hands-on projects I’ll do with you:
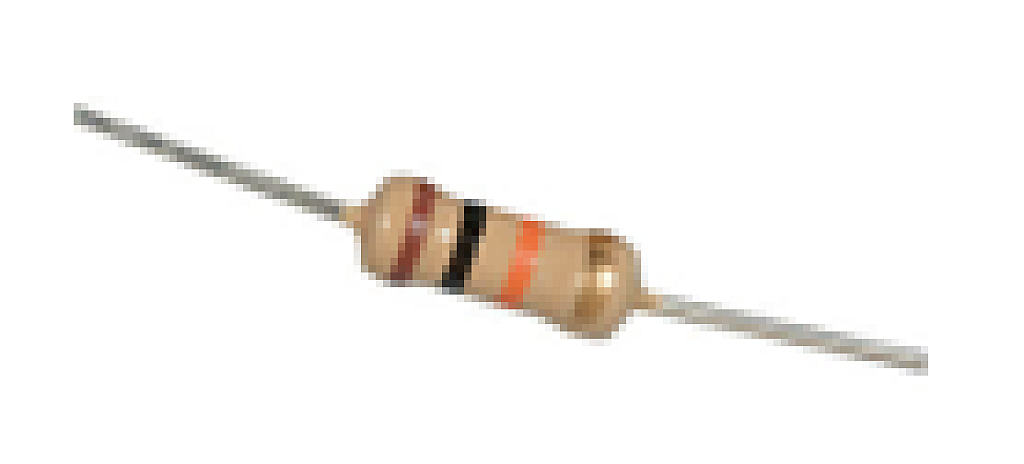
- 1 kOhm resistors
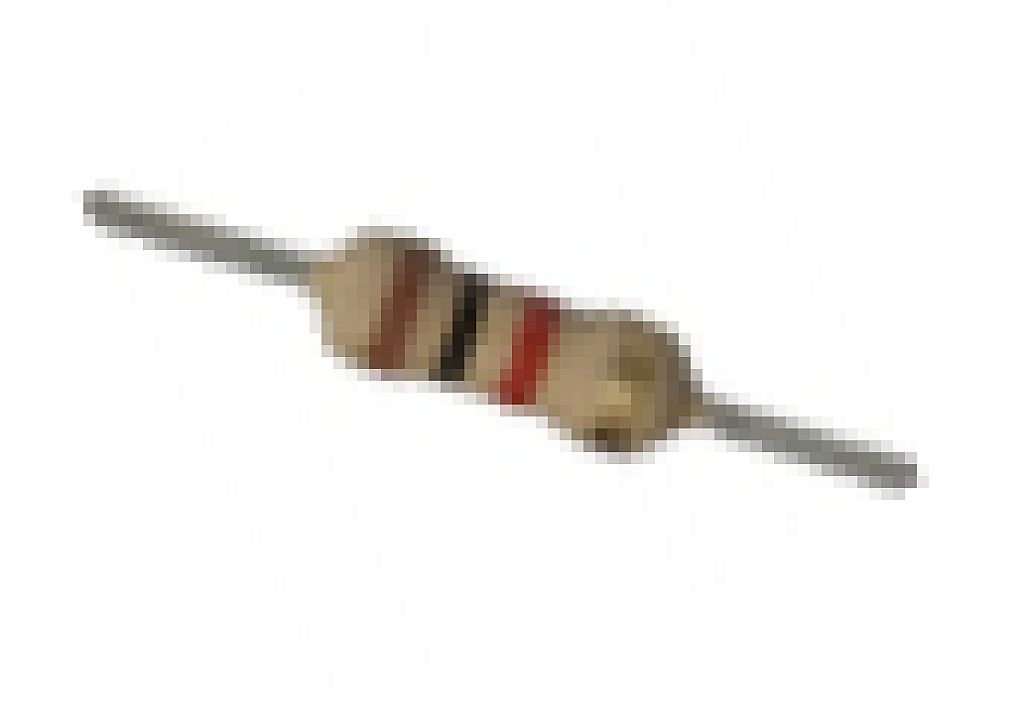
- 10 kOhm resistors
- LEDs (any color you want)

- Tactile switches

- Passive piezo buzzer

- Breadboard

- Dupont wires male-to-male (these are great but just regular jumper will work if needed)

- Dupont wires male-to-female

4. Computer
Perhaps it’s obvious, but I need to mention that you need a computer of some sort. It’s preferable if it’s pre-installed with Windows 7 or higher but macOS or Linux will work as well. Just a warning, I’ll use Windows 7 in my examples.
5. Software
Apart from the hardware tools and parts, we need some special software to write and compile our programs in Assembly language. You also have a choice here:
- MPLAB IDE v.8.76 is obsolete but it still supports the PIC10F family, and can be used. This IDE is only available in Windows.
- MPLAB X IDE is the current IDE version; it supports all Microchip MCUs, can be installed on any OS, and has a lot of features and plugins.
It’s up to you what to choose. MPLAB 8.76 is very lite, it requires less than 120 MB, and is not very demanding to the processor. MPLAB X requires more than 4 GB and can be laggy on an older or weak computer but the latest versions of PICkit and ICD are supported on MPLAB X. And, if you use any OS other than Windows, the only alternative for you is MPLAB X.
Both MPLAB 8.76 and MPLAB X include free usage of MPASM, a compiler that turns the assembly we’re going to use into machine code, keeping costs down. Microchip has recently moved to the XC8 compiler and, while all our tutorials are based on the MPASM compiler, we will provide ported XC8 code examples as well.
Personally, I prefer minimalism, so I’ll use MPLAB 8.76, but I’ll show some critical differences to make sure you can find essential features in both IDE’s.
And that’s it for this tutorial! Before moving on to the next tutorial, as homework, you should purchase all the required tools and install all the required software. But there’s no hurry – in the next two articles I’ll tell you more about the PIC10F200 microcontroller and Assembly language. I know theory can be boring but it’s a necessary evil, without it you won’t understand the next tutorials. And, the seemingly boring theory translates into exciting projects!
Check Yourself
10 Questions

Authored By
Sergey Sokol
I was born, raised, and currently live in Ukraine. I’m fond of different types of electronics and backpacking but these things have been set aside with the war that has been thrust on my country, my people, and my family. Through these trials, if you could help support me financially, I would appreciate any help that could be sent via Paypal to sokolsp@gmail.com

Related Tutorials

Related EE FAQs
 work?")
How do Analog to Digital Converters (ADCs) work?

Answered by Uma Bharathi D

What's the difference between a regular relay and a power relay?

Answered by Jayesh Upadhyay

What is a PWM signal?
Answered by Jayesh Upadhyay

Why is RAM faster than other memories?
Answered by Jayesh Upadhyay

How to transfer circuit from schematics to breadboard?

Answered by Gary Crowell
Check Yourself
10 Questions
Explore CircuitBread
- 244 Tutorials
- 9 Textbooks
- 12 Study Guides
- 31 Tools
- 104 EE FAQs
- 295 Equations Library
- 213 Reference Materials
- 97 Glossary of Terms
Friends of CircuitBread
-

Search Hundreds of Component Distributors + 2 Perks
-

Free Electronics Lessons & Resources + 2 Perks
-

Free YouTube Product Training Guides


Get the latest tools and tutorials, fresh from the toaster.


